 Antaryami
App walkthroughs
Navamsa in Antaryami: open D9 without losing the story of your birth chart
You have found your way around a birth chart, and now another button catches your eye: D9. Does it reveal something the first chart missed? Has a planet moved? Why do familiar symbols appear in different compartments? Antaryami makes that curiosity easy to explore through its divisional-chart controls. Nitish Raj Walia follows the actual Navamsa preview here with a fictional adult example, showing how to compare two views without treating either as a verdict on your relationships. The useful discovery is a different calculation layer with its own labels, not a secret second life waiting behind a button.
Find D9 below the main placement reading
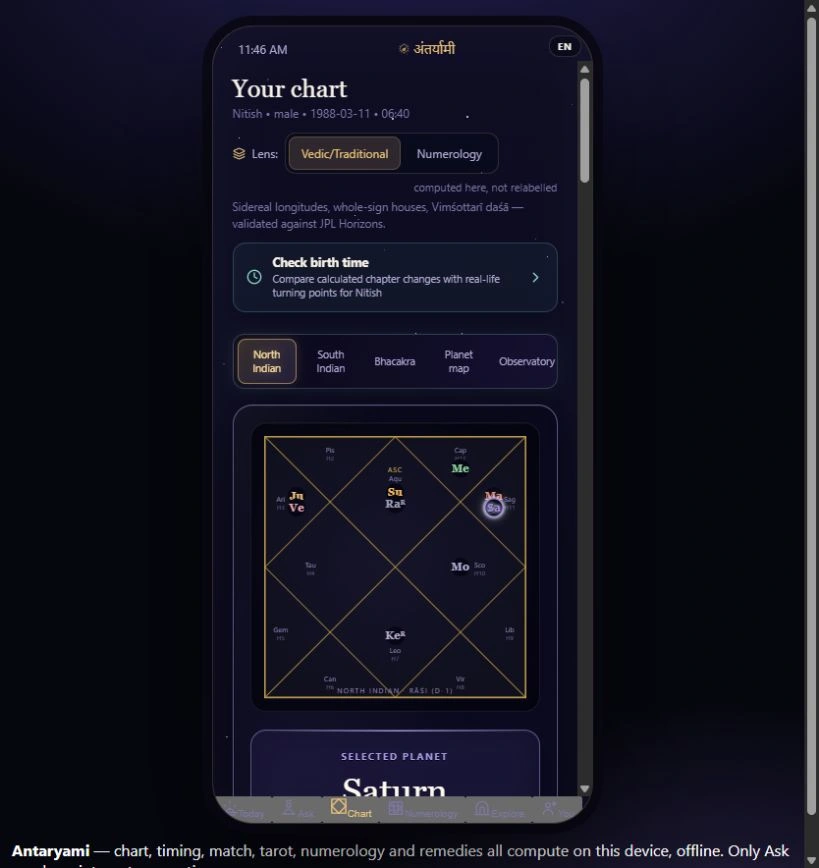
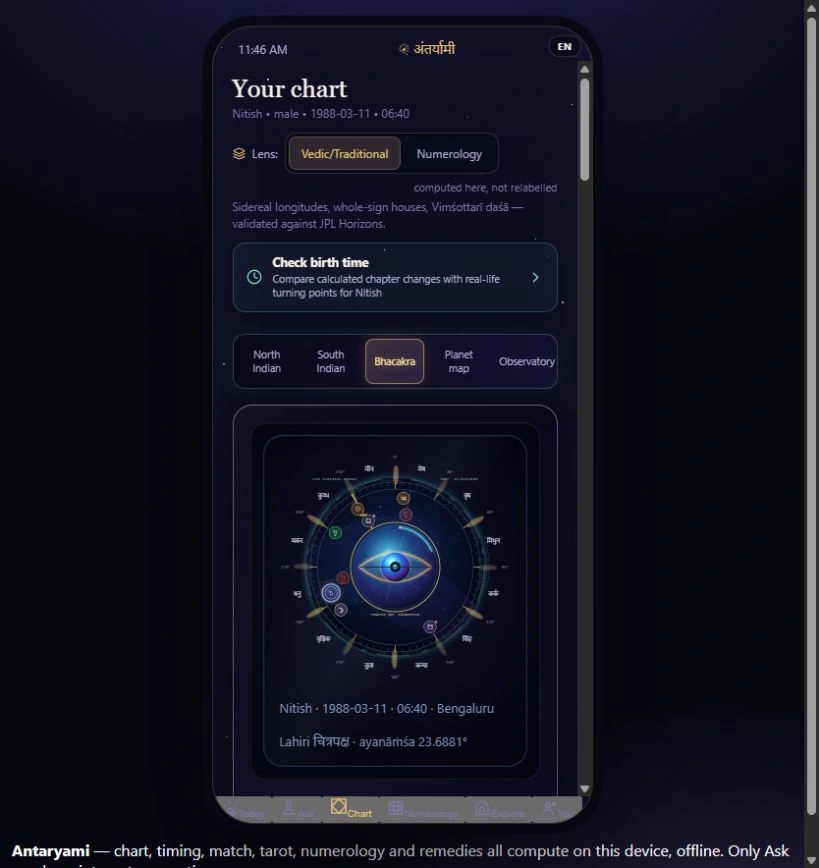
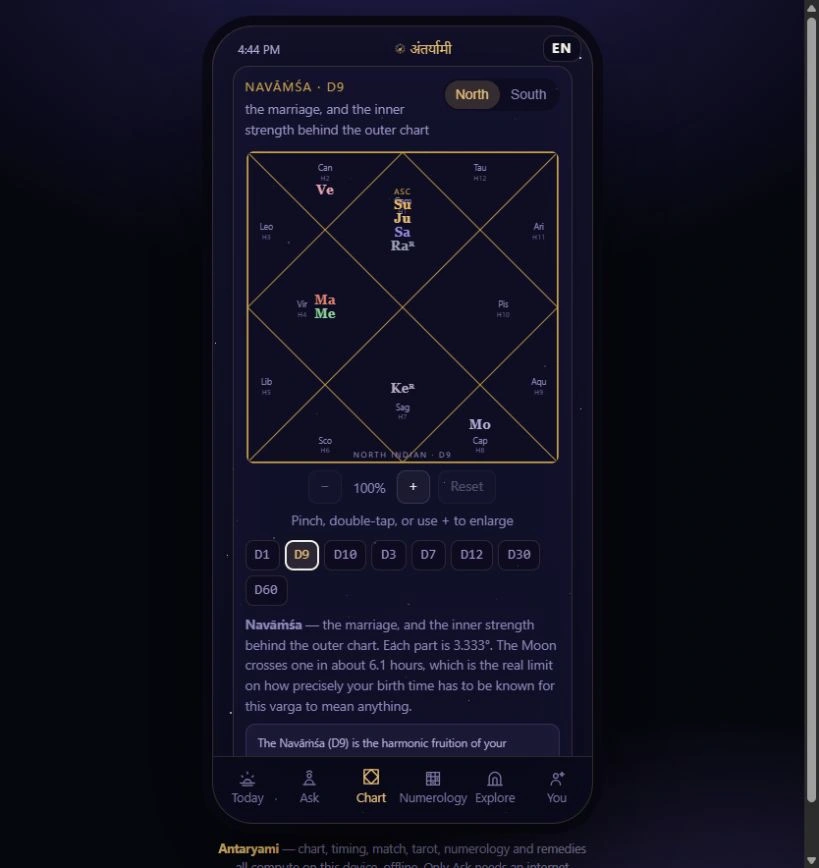
In the inspected Chart section, the first instrument helps you read the primary chart and select a planet. Further down, a separate chart panel contains buttons labelled D1, D9, D10 and other divisions. Choose D9 there and check the panel title before reading its compartments. The primary instrument above is still a different surface. A page can hold several charts at once, so the presence of familiar planet abbreviations is not enough to establish which calculation you are looking at.
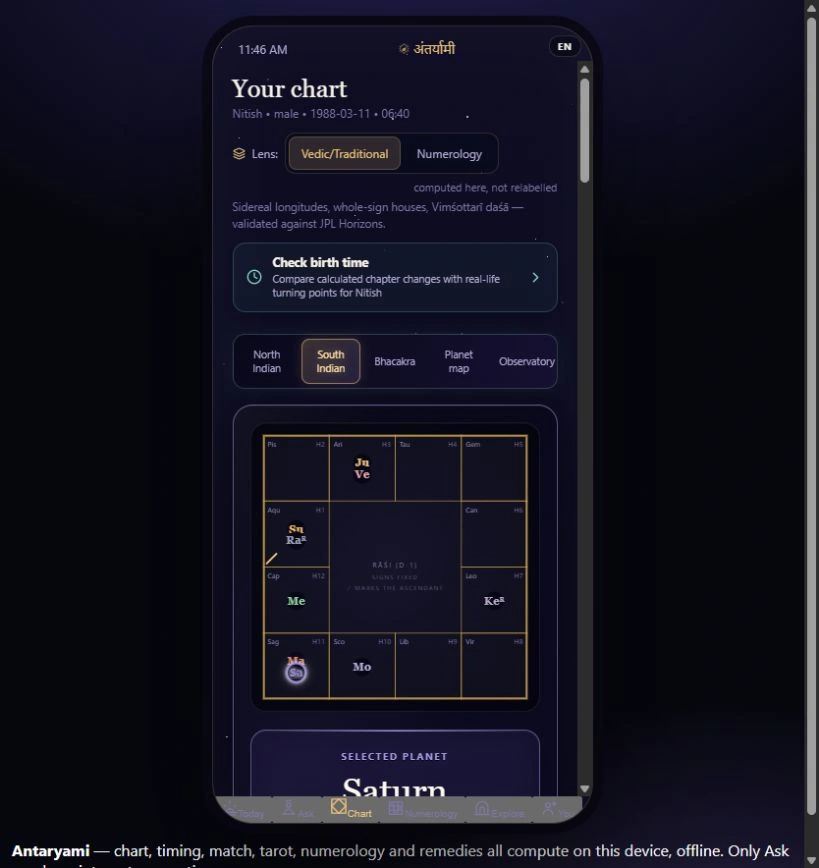
The divisional panel also offers North and South layouts and enlargement controls. These change how you inspect the diagram; selecting D9 changes which mapped placements it draws. Keep those two operations distinct. If a small label is difficult to read, enlarging the same chart is a sensible first step. Switching a division just to obtain a more attractive pattern is not. Confirm the division, the layout and the selected person so that the image you discuss has a clear identity beyond its colour and shape.
A different compartment does not mean the planet moved in the sky
The inspected engine takes a supplied sidereal longitude and applies its D9 mapping rule. Each thirty-degree sign is divided into nine parts, with a part measuring three degrees and twenty arcminutes. Those parts are mapped into signs for the divisional view. This explains why a planet can be shown under one sign in D1 and another in D9 without there being two competing measurements of the sky. The second placement is derived from the first longitude through the selected calculation convention.
Think of the distinction as keeping a measurement and a transformation in separate columns. The longitude is an input; the divisional sign is an output of the mapping. Neither is an observed account of how a relationship will develop. This guide describes the app's implementation rather than claiming that every school uses identical interpretive language. Once you understand what the button changes, you can ask a much better question: which part of the explanation comes from the rule, and which part comes from the tradition placed around that rule?
Use the second chart as a companion, not a replacement
Antaryami places an explanatory note below D9 saying it should not be read independently from the primary D1 chart. The note associates Navamsa with inner strength, relationship tendencies and maturation within the product's traditional framing. Read that as interpretive context, not a verified psychological assessment or a schedule telling you when your personality must change. If a sentence sounds unusually personal, remember that the screenshot belongs to a fictional adult used to demonstrate the interface, not to the reader opening this article.
Try comparing one planet across the two divisions, then return to the original question. Perhaps you are curious about how the product explains a relationship theme. You can inspect its D9 label without forgetting the person's circumstances, their choices or the broader reading. A disagreement between two isolated labels is not an invitation to select whichever sounds more reassuring. It is a reason to keep the labels attached to their respective methods and seek clarification rather than manufacture a single absolute conclusion from fragments.
Vargottama is a specific comparison you can understand
The panel includes a vargottama line. In the inspected source, this checks whether a planet occupies the same sign in D1 and D9. That is a defined comparison of two calculated sign assignments, not a synonym for being successful, morally better or safe from difficulty. The fictional example shown here reports no such planet. That absence does not make the chart defective, and it does not mean the person has failed a test. It simply describes the result of this particular comparison.
If your selected chart does list a planet, first verify the two displayed signs. Then read the traditional interpretation with its qualification intact. A yes-or-no condition may be straightforward to calculate while its personal significance remains interpretive. Avoid turning it into a relationship requirement or using it to judge someone else's worth. You can enjoy learning a precise term without granting that term authority over a consequential decision. A useful exhibit teaches what a condition means in the instrument before telling you what a tradition may make of it.
Fine divisions deserve careful inputs
- Confirm D9 in the divisional panel title, not only in a nearby caption.
- Compare one mapped sign with its D1 counterpart before interpreting it.
- Read vargottama as the stated same-sign condition, not a life guarantee.
- Keep time and location uncertainty visible when discussing the diagram.
A divisional diagram can look more detailed than the primary chart, but detail does not improve an uncertain birth record. The panel's note gives a Moon-crossing estimate for a division; that is not a universal certification that your birth time is sufficiently precise. The divisional ascendant and house reference can respond differently, particularly near a boundary. Read any birth-time warning elsewhere on the Chart screen as relevant context rather than assuming that the polished D9 diagram has silently resolved it.
Do not upgrade a remembered time to a recorded time to make the chart feel finished. Keep the actual level of certainty attached to the profile and check the supplied location. In the app preview, an approximate time can leave the primary house structure provisional; a finer chart does not repair that uncertainty. This is a good moment to pause and ask what remains stable in the calculation and what depends on the disputed input. A limited, clearly described observation is more useful than a complete-looking interpretation built on certainty you do not have.
Leave with a clearer question about the instrument
The website can introduce this actual-source preview before you decide whether personal app access suits you. The image proves what was visible in the inspected local interface; it does not establish a live store listing, an available paid consultation or a purchased entitlement. Check the current official app and account pages for those separate facts. You can learn from this walkthrough without making a purchase, and you should not feel pressured to buy simply because a traditional term has made an ordinary uncertainty sound mysterious.
The Antaryami Journal from Temior Technologies Pvt Ltd aims to give that curiosity a readable path. You may begin with a symbol, discover the calculation behind it and leave with a better question about the interpretation. That is already a worthwhile visit. Navamsa becomes less intimidating when you know which longitude was transformed, which division is selected and why D1 still belongs in the conversation. Keep the two charts connected, and leave the real people involved in your relationships free to speak for themselves.
Check the relationship between the two charts
The same planet has different signs in D1 and D9
D9 maps parts of the supplied sidereal longitude into divisional signs. A changed sign in that derived view is not a second observation of the planet in the sky.
There is no vargottama planet in the example
The same-sign comparison found none for these fictional inputs. It is not an error, a failed relationship test or a judgement about the person.
Astrological interpretations are for reflection, not a diagnosis, a guaranteed prediction or a substitute for professional advice. Journal guides are prepared with AI assistance; they are educational content, not individual consultations.